

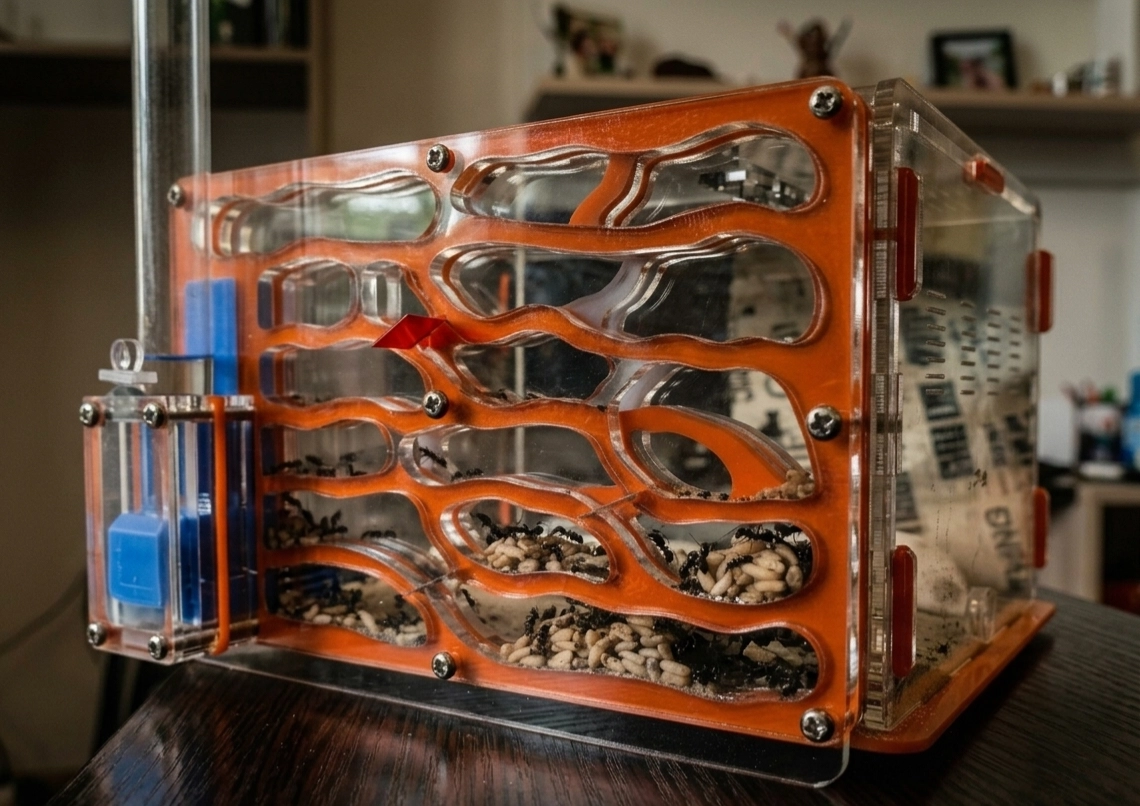
The starter kit - a step-by-step plan from test tube to top floor
The formicarium, the test tube with the colony and the little jar of grain are already at home. When to connect the arena, what to feed and how often, and when to open new floors - we've broken it all down step by step, with photos of the formicarium.
Picture new tenants who've been handed the keys to an entire high-rise but, for now, live in one small room. That's how life begins for a colony from the starter kit - first a cramped test tube, then the arena as its front yard, and the floors open one at a time as the family grows. Below is the whole journey step by step, with photos, so not a single step gets lost.
What's in the box
The kit contains the Terra formicarium, a colony of Messor structor harvester ants with a queen in a test-tube incubator, a seed mix and a tool kit. It's a supply for years ahead - you'll hardly need to buy anything extra.
- Terra formicarium
- Enough room for the colony to grow for about 5 years. The nest is divided into floors, and they're opened gradually.
- Seed mix
- The harvesters' staple food. One container lasts the colony about 5 years.
- Feeder beetle
- Live protein food. The beetle culture breeds by itself, so you only need to get it once - it lasts forever. If the beetles aren't in your order, you can buy them separately.
- Tool kit
- Tweezers, a syringe, a tube, a brush and other bits and pieces for care. What each one is for - in the next section.
What each tool in the kit is for
The tool kit holds ten small items, and each one has its own job. Let's go through what's what, so when the moment comes you're not hunting around the house for something to pick up a crumb of food or top up the water.
- Tweezers
- For clearing leftover food and debris off the arena and serving bits of insects. You'll reach for it every week.
- Pipette
- For dripping syrup or a little water onto the arena without flooding the ants.
- 5 ml syringe
- For topping up the water in the humidifier tube. The markings on the syringe help you not to overfill it.
- Silicone tube
- Connects the test tube to the arena in step 2, once there are more than 35 ants.
- Hook probe
- For adjusting something inside, nudging the cotton or fishing debris out of a narrow passage without taking the nest apart.
- Soft brush
- For gently sweeping ants off the lid or a wall when you open the arena, without crushing them.
- Cotton balls and swabs
- A ball plugs the test tube - it lets air through and holds in moisture. A swab is handy for wiping up drops and dirt in the corners of the arena.
- Two feeding dishes
- One for seeds, the other for protein food. On a dish the food doesn't mix with debris, and leftovers are easy to clear away.
- Water feeder
- Water on the arena that the ants won't drown in.
Wash the tools in warm water without detergent - ants are sensitive to chemical smells. Keep the tweezers and brush separate from the kitchen ones, so nothing unwanted gets on them.
First, choose a spot
Before you unpack the colony, find it a permanent spot. Direct sunlight must not fall on the living quarters. At first that's the test tube the colony arrived in, and later the formicarium nest, where the queen and the brood live. The sun quickly heats glass and clear walls, the nest overheats and dries out, and that's dangerous for the brood. A shelf or a table further back in the room works well, where it's bright but the sun doesn't shine straight in. If the spot is still bright, you can cover the test tube with thick paper or cloth - ants feel calmer in the dark.
The second rule - no constant vibration nearby. Don't put the test tube or the formicarium on the fridge, the washing machine, the computer tower, next to speakers or on a table that's always shaking. Ants feel vibration with their whole body, and constant shaking keeps the colony on edge. A quiet corner is as much a part of their care as food and water.
Step 1. The colony lives in the test tube
At first the colony lives in the test-tube incubator it arrived in. This is its first «apartment» - cramped, but warm and safe. Don't disturb the family and don't rush the move. A small colony first needs to grow stronger, and every jolt is extra stress for it.
Step 2. More than 35 ants - connect the arena
Once the colony has more than 35 ants, you can connect the test tube to the arena. On the side wall of the arena, right by the bottom, there's a round clear plug. Pull it out and fit the silicone tube from the kit in its place, then slip the other end of the tube onto the test tube. Now the family has its own «yard» - the arena, where the ants go out for food.
Step 3. Seeds always, beetles 1-2 times a week
From here on, make sure there are always seeds on the arena - they're the harvesters' staple food. The Messor ants will carry them into the nest themselves, stack them in dry «granaries» and, over time, turn them into «ant bread» for the larvae. Once or twice a week give them protein - feeder beetle larvae. Clear away any leftovers the ants haven't taken with the tweezers from the kit, so the arena stays clean.
Grain always within reach, protein on schedule - and the colony grows by itself.
GoodAntShop
Step 4. The room is packed - open the next floor
The formicarium nest is built like a high-rise, with the floors separated by clear dividers. At first the colony can only reach the first room. When the ants pack it full, pull out the divider leading to the next floor. And so on, floor by floor, step by step as the family grows.
It's not worth opening everything at once. For a small colony a big territory is only a burden - it has no use for empty rooms yet, and extra space stresses it out. A housewarming is best celebrated one room at a time.
Step 5. Never let the humidifier run dry
The humidity in the nest is kept up by the humidifier tube at the corner of the formicarium. Water from it passes through the nanosponge in the tube into the formicarium's nanosponge, and from there the moisture spreads through the nest. That's how the Messor ants get damp rooms for the brood next to the dry «granaries» for grain.
Something went wrong, or want to double-check? Write to us - we'll support you at the start and guide every step.
Contact usFAQ
Where should I put a formicarium with ants?
Somewhere direct sunlight doesn't fall on the test tube or the nest and there's no constant vibration nearby - not on the fridge, the washing machine, the computer tower or next to speakers. The sun overheats and dries out the nest, and constant shaking keeps the colony stressed.
What are the tools in the kit for?
The tweezers clear leftover food, the syringe tops up the humidifier, the tube connects the test tube to the arena, and the brush gently sweeps ants off the lid. The full list is on the tool kit page.
When should I connect the test tube to the formicarium?
When the colony has more than 35 ants. Pull out the round plug on the arena wall, insert the tube from the kit and slip the other end onto the test tube. More about the species itself is on the Messor structor page.
How often should I feed the Messor ants from the starter kit?
There should always be seeds on the arena, and protein - feeder beetle larvae - is given 1-2 times a week. The seed mix from the kit lasts about 5 years.
When should I open the next floor of the formicarium?
When the ants pack the current room full - that's when you pull out the divider to the next floor. There's no need to open everything at once, for a small colony that's stressful. More about the formicarium is on the Terra page.
Read also
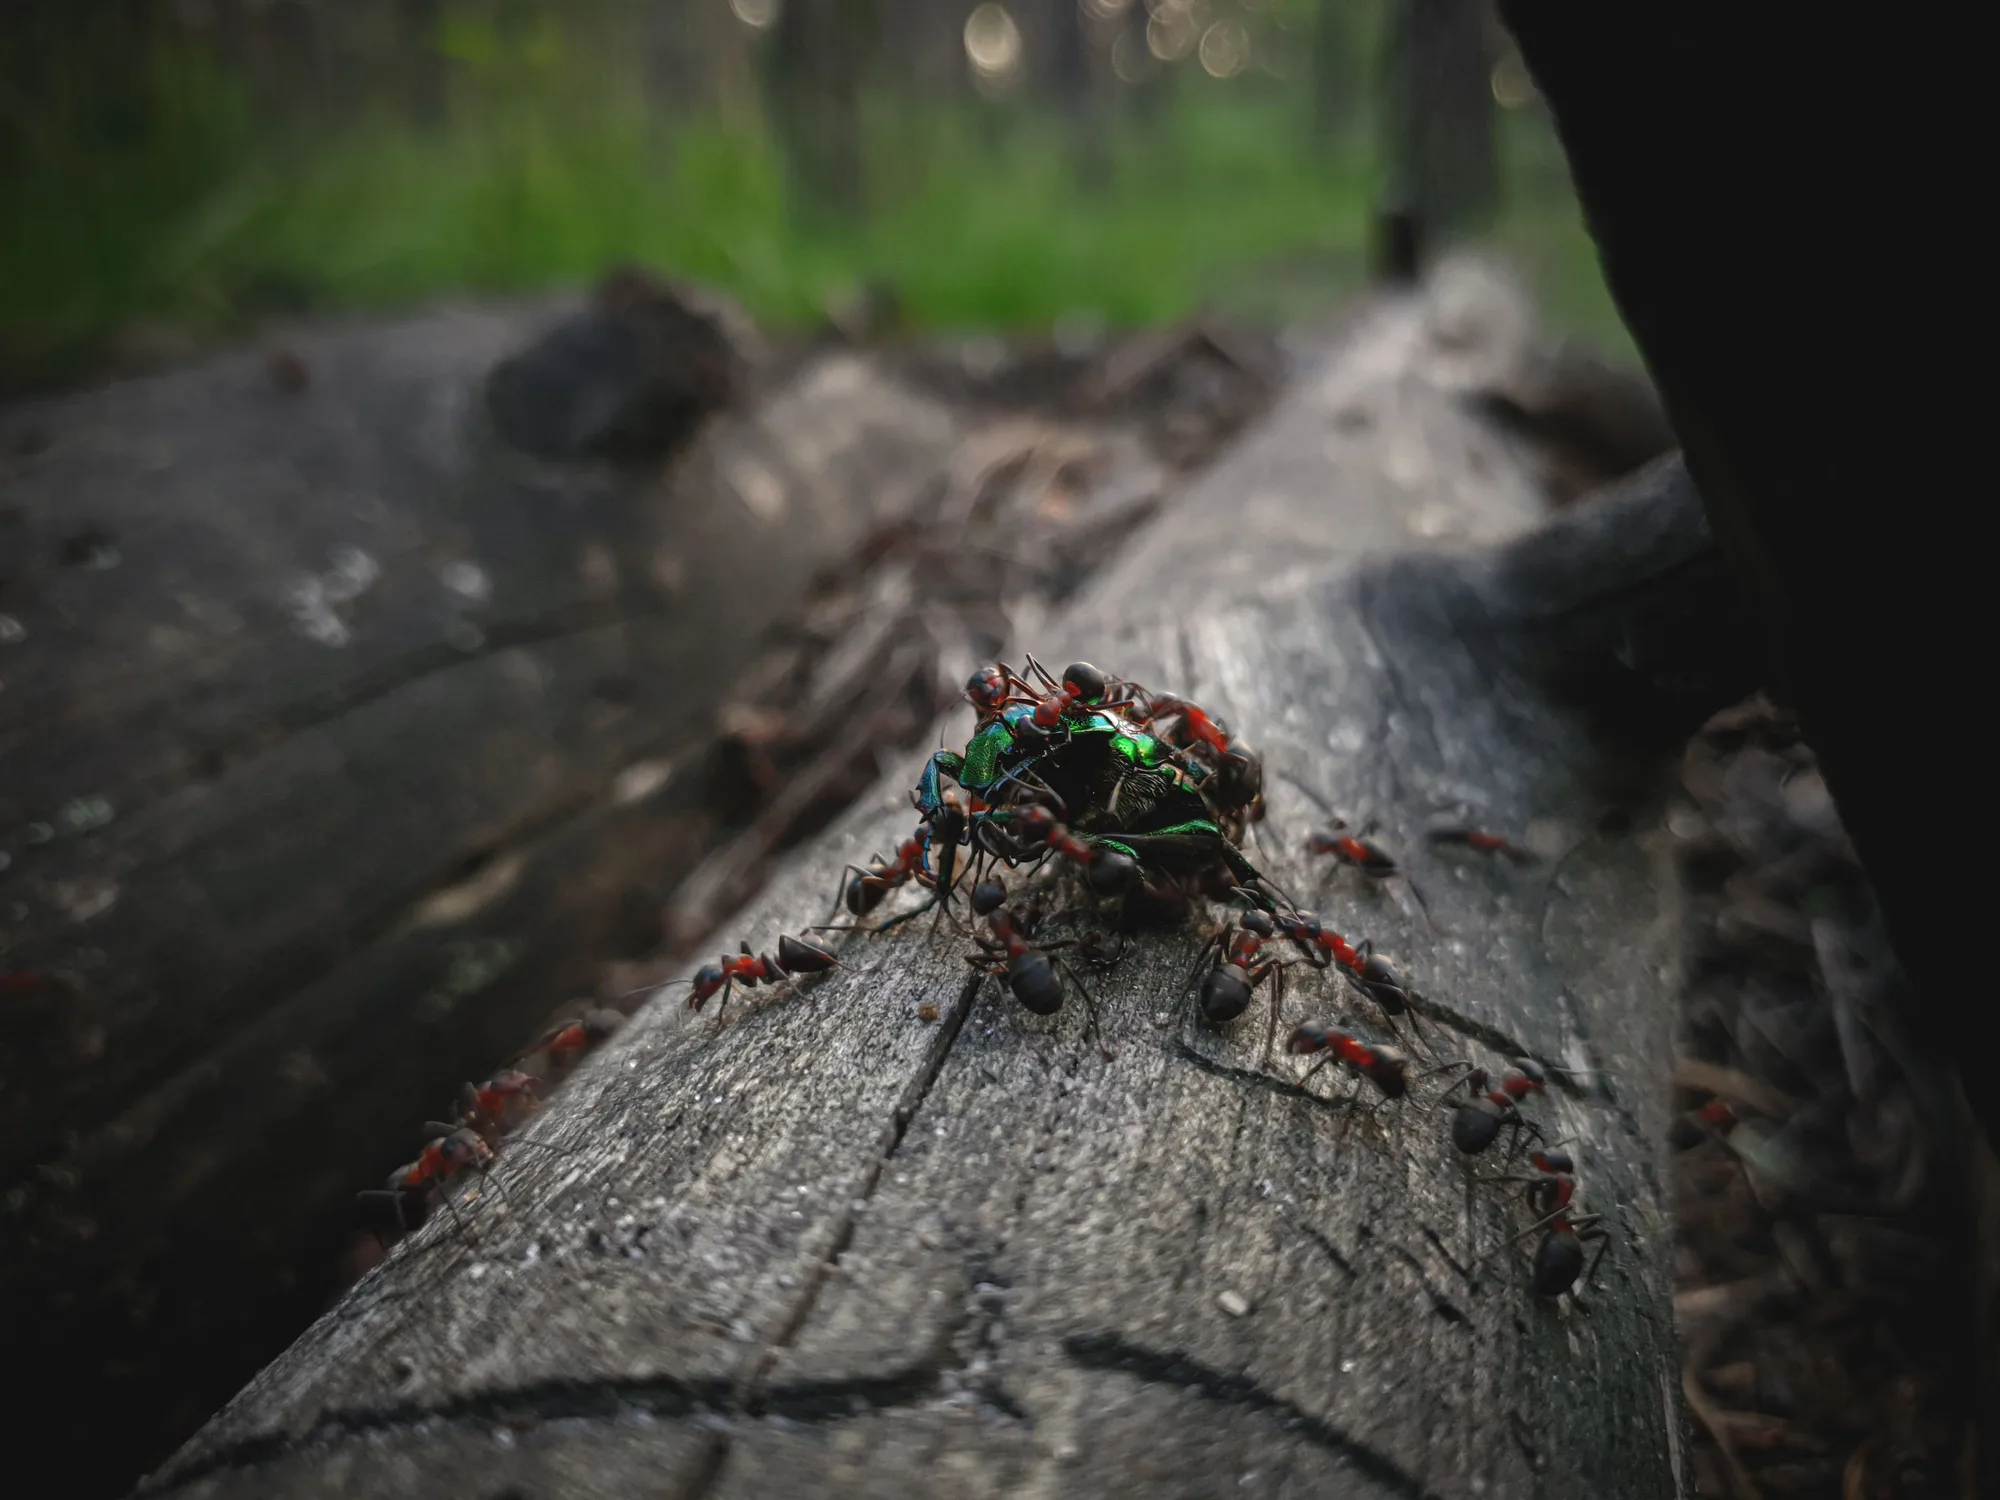
What to feed ants at home - a colony menu from syrup to live food
Adult ants hardly eat solid food at all, and protein is needed first and foremost by the larvae. We explain how a colony feeds itself, what to give different species, how often to feed and what should never go into the arena.
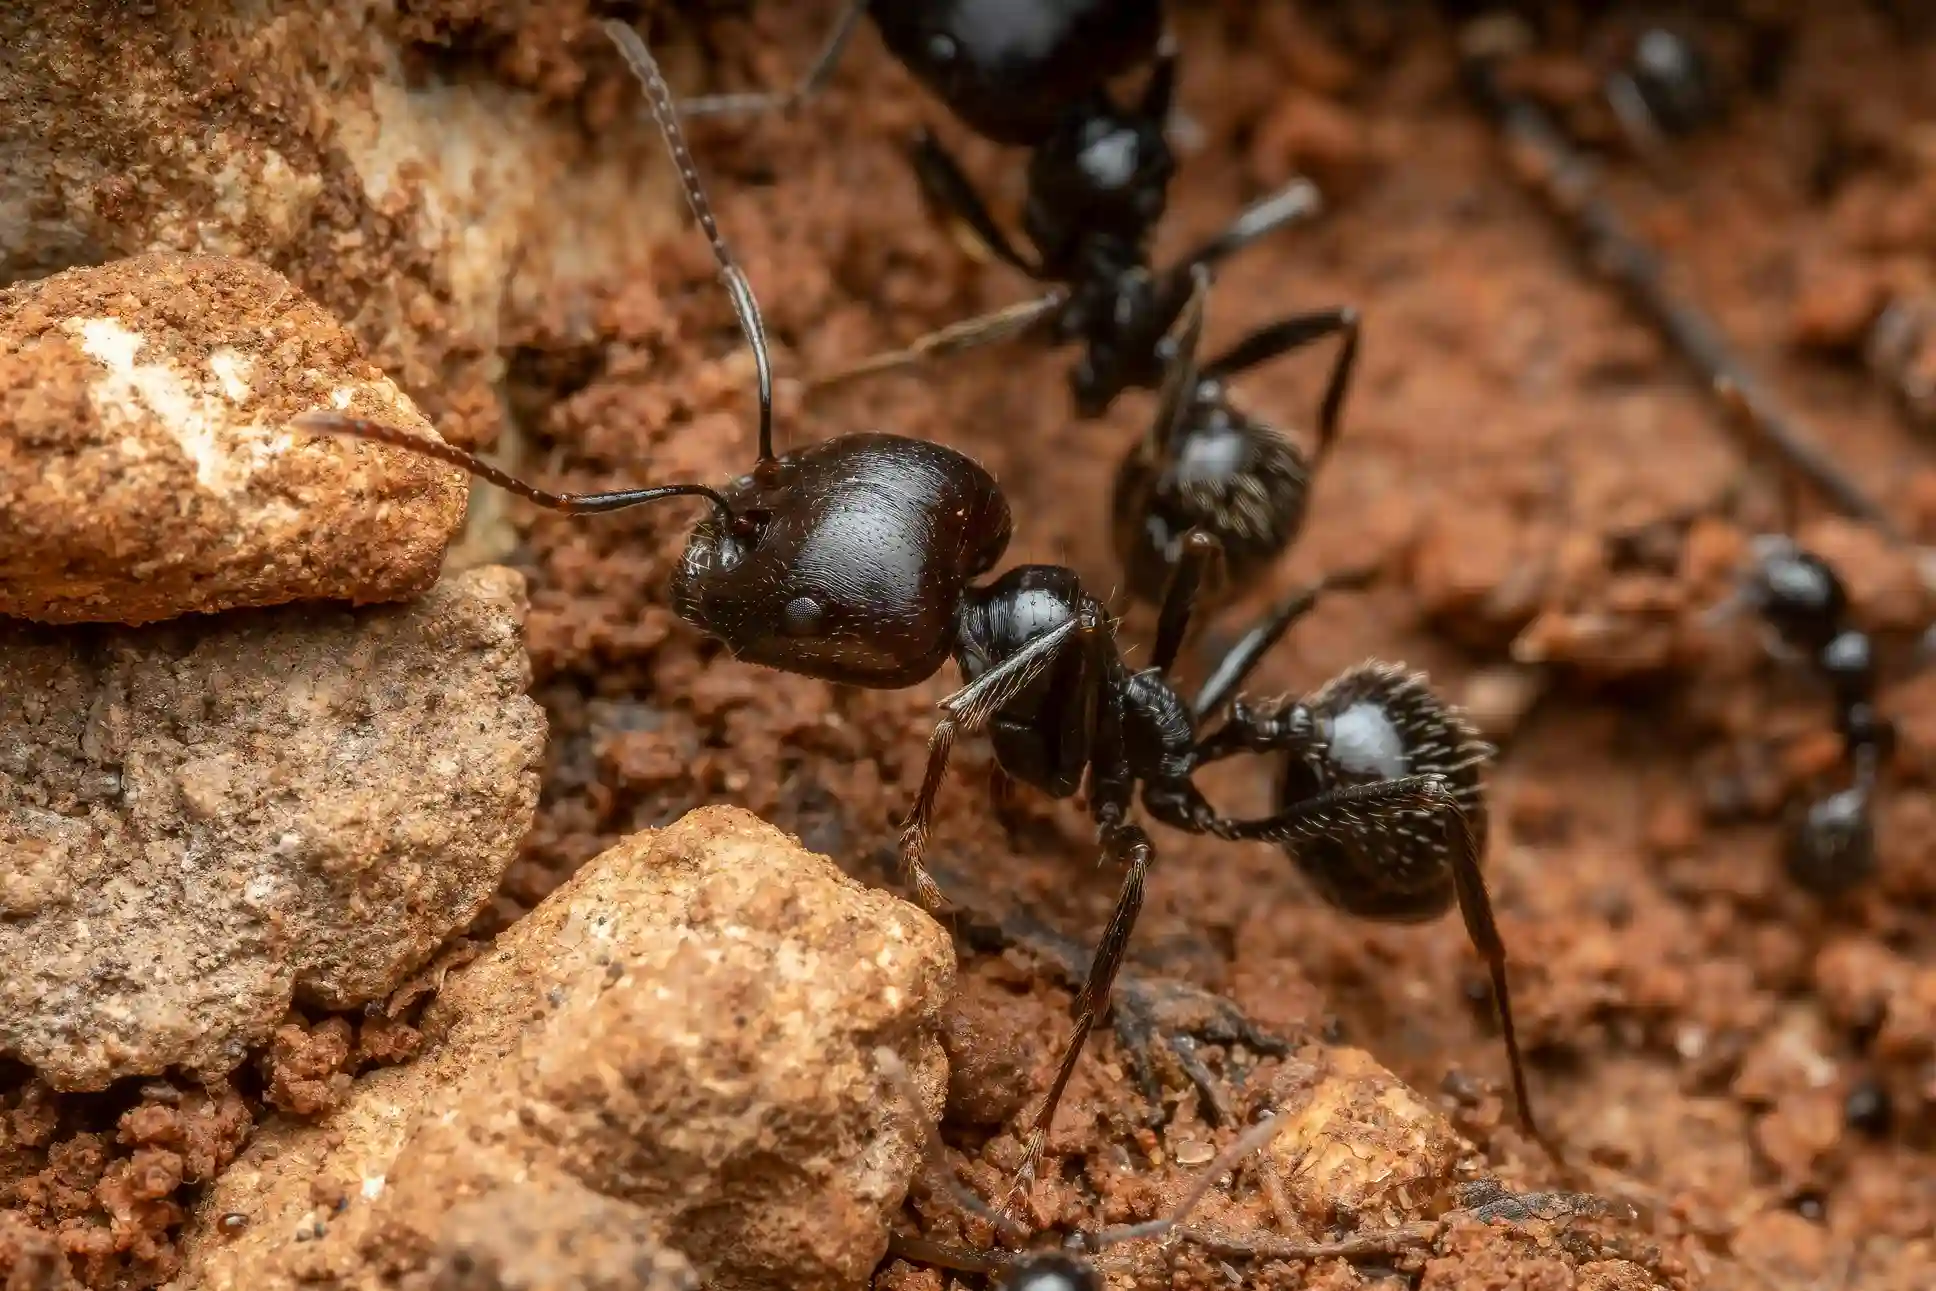
Wintering Messor ants - a holiday after the harvest that extends the colony's life
In winter, harvester ants need their rest, or the queen works without a break and ages faster. We explain when to start the winter rest, where to keep the colony and how to wake it up in spring.